simonc
@simonc
Forumsvar skapade
-
FörfattareInlägg
-
Beställ Din Saab-Kalender Idag på http://www.saabart.co.uk
Omfamna Sveriges anda med vår klassiska Saab-kalender – där elegans möter funktionalitet. Beställ nu och gör varje dag till en resa genom Saabs tidlösa skönhet. 🇸🇪🚗📅
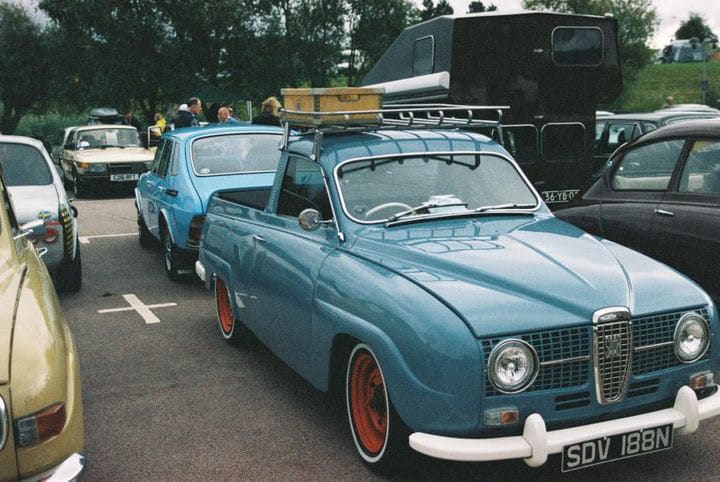
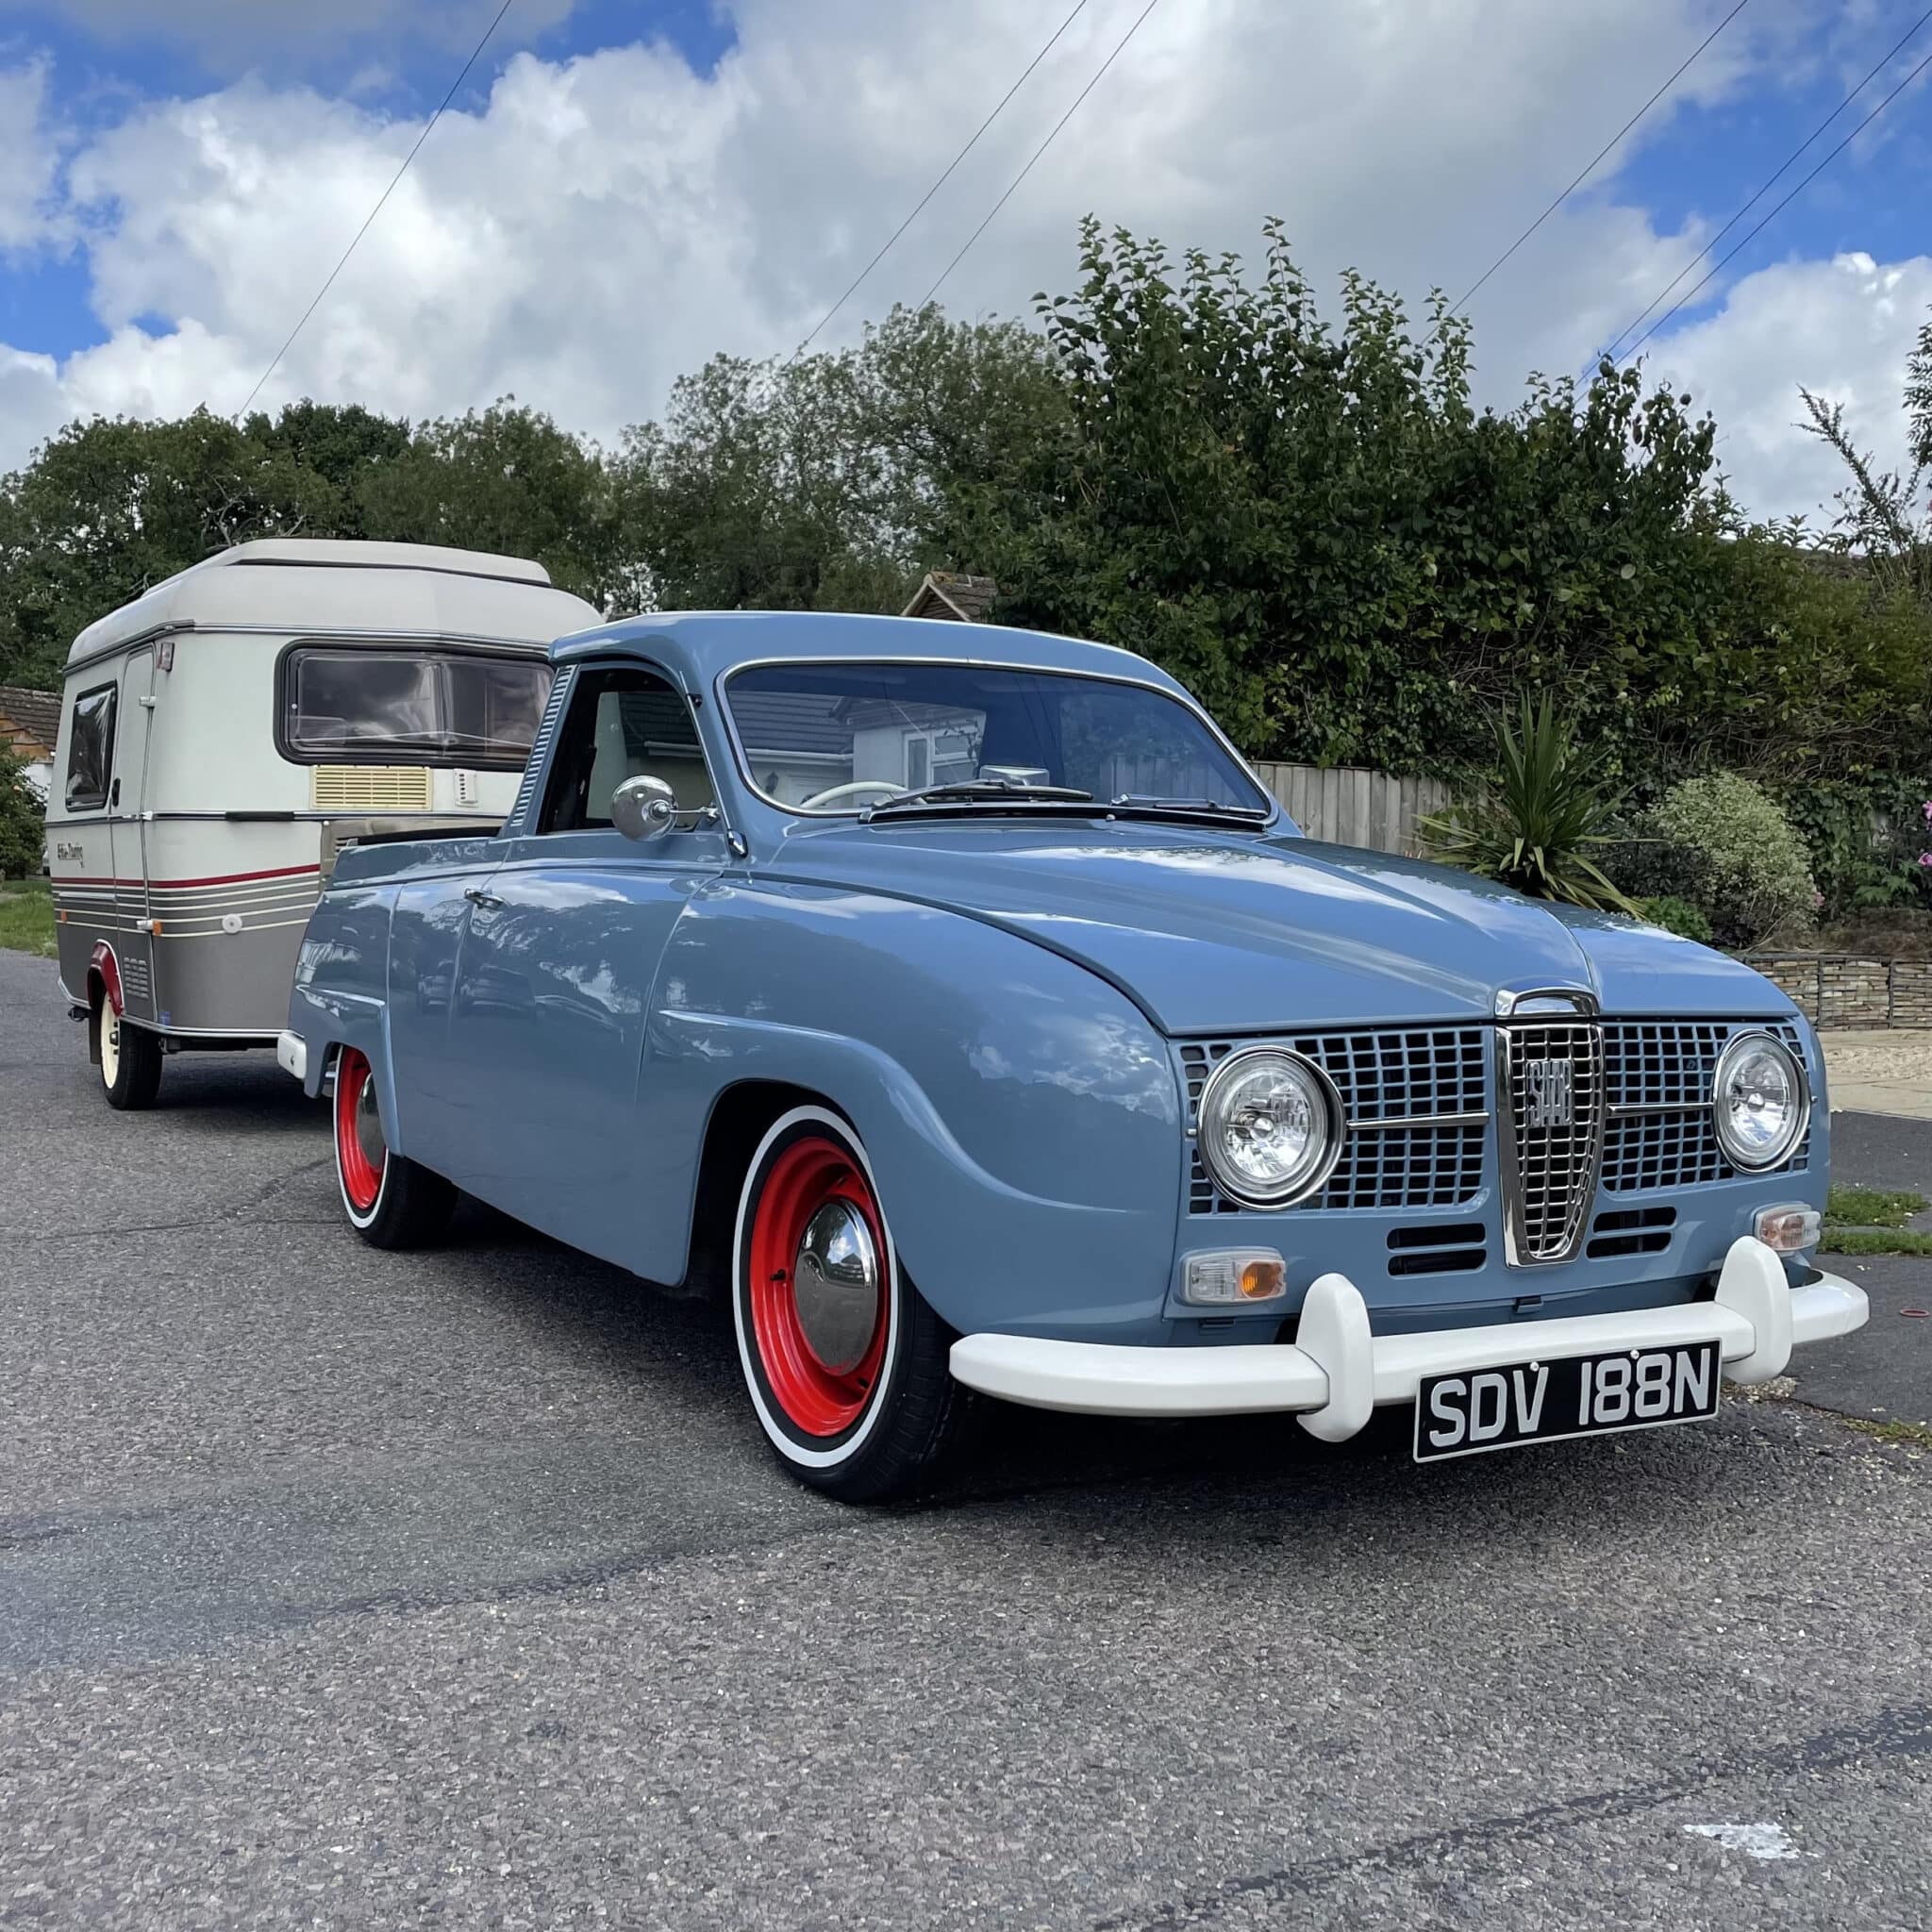
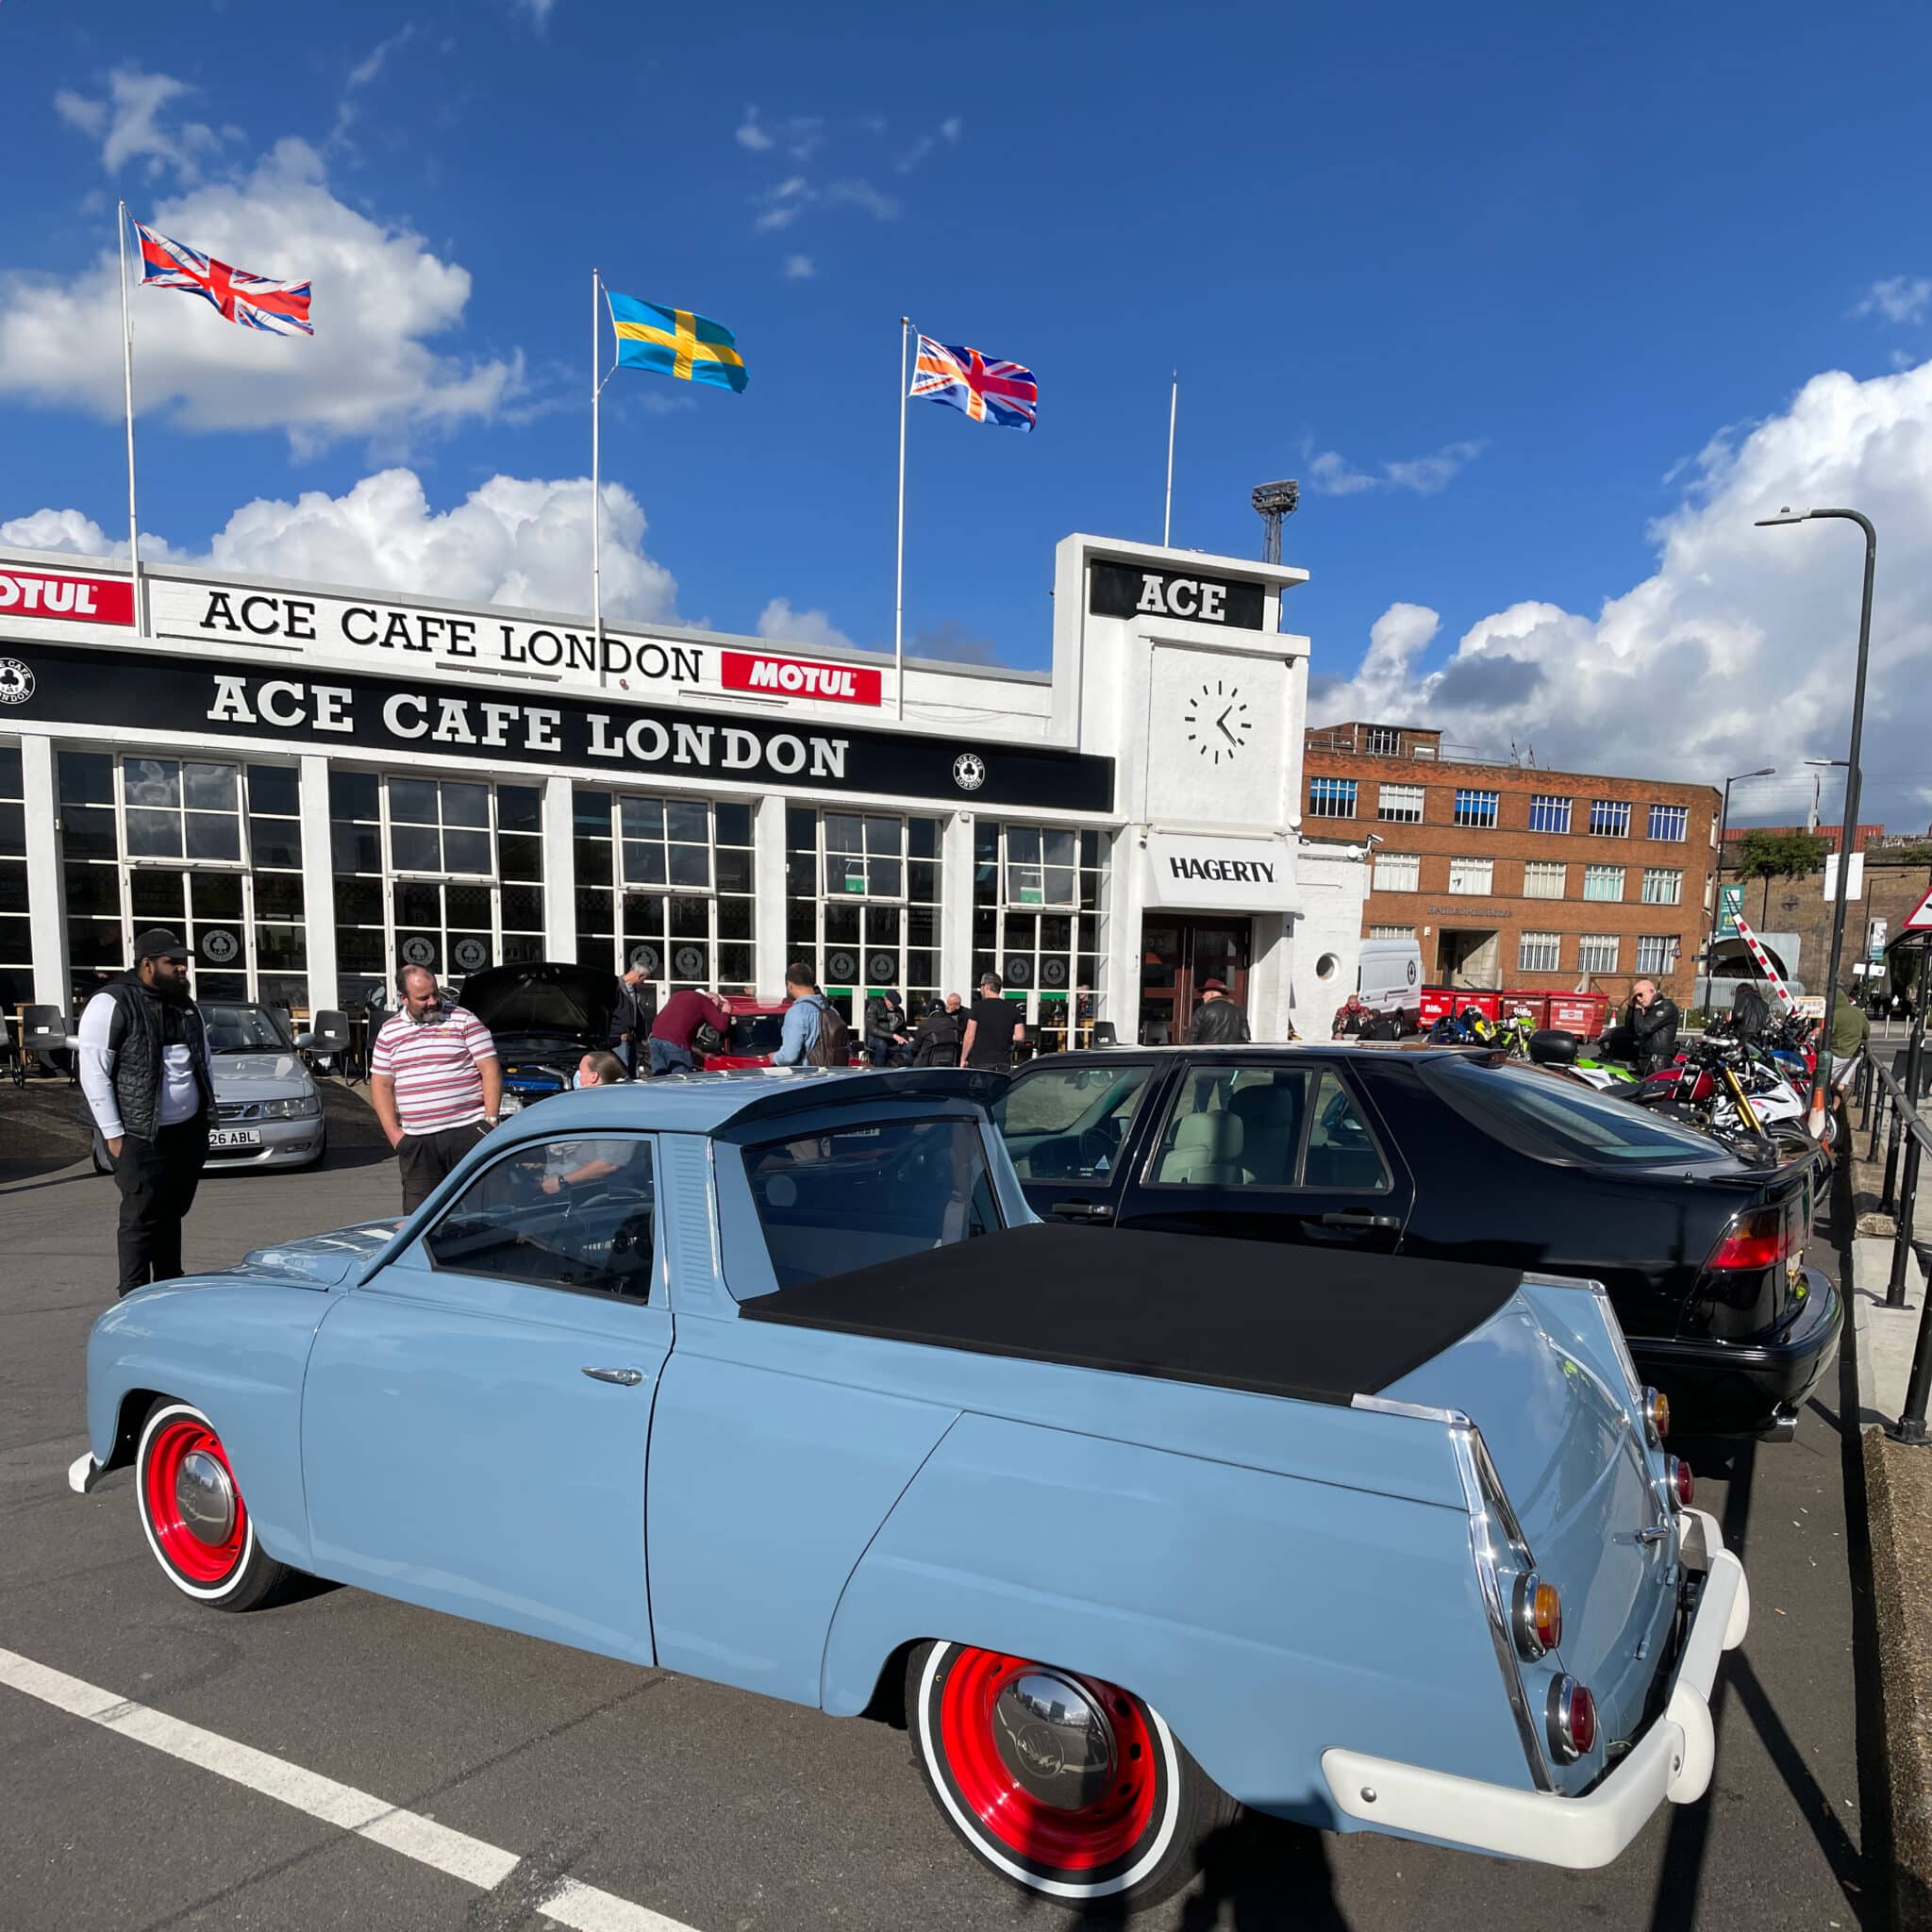
I finally got the pickup ready for the International in August, I had a long list of things that needed to be done and there were a lot of late nights and sourcing the final few parts I needed – but we got there and she drove to the show with no problems. She’s since been to a few local shows and recently to a Saab meeting at the Ace Cafe. There’s still a lot to do – but I can hopefully get it done over the Winter.
Attachments:
2 användare tackade författaren för det här inlägget.
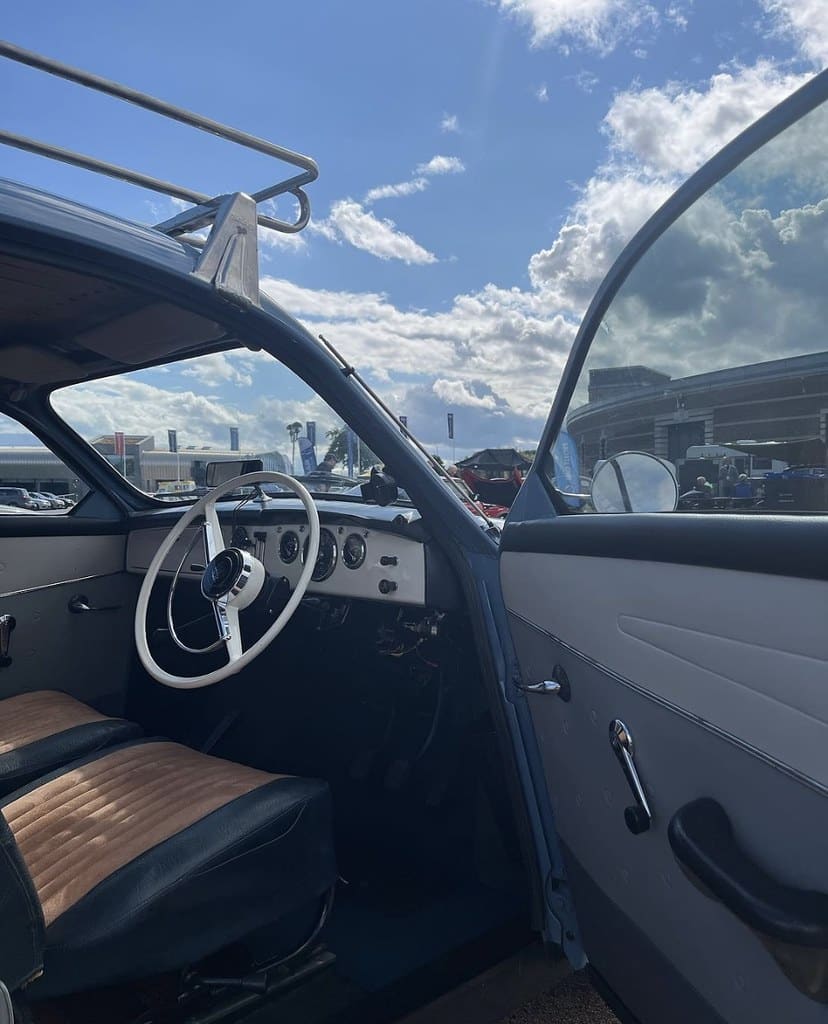
Hopefully got the gear change issues sorted, took her for a spin round the block and got all 5 gears, without too much trouble, so I can now get on with the rest of it!
Taking the dash out seems like a backwards step, but it needs to have a hole filled and then painted, plus it meant I could tidy up all the (birds nest) wiring that had been done in a bit of a rush. I needed something to hold the guages in place, hence the rather fetching CAD (Cardboard aided design) dash…

I’m hoping you can help me!
Having taken the pickup for a test drive I can’t get 3rd and 4th gears!?!
I’ve read the manual (which describes putting the car into 4th gear), but as I can’t actually get it into 4th, it’s a bit of a struggle. I’ve tried adjusting the column and taken the car on test drives, but can only get 1st, 2nd and reverse.
I’m wondering if I put the gearchange mechanism back together incorrectly or if there’s a special procedure to hooking up the gearchange mechanism to the gearbox (ie: the gearstick needs to be in reverse or neutral etc.)?
I have tried to post pictures and even a video – but for some reason I can’t do that on here. Mats Jedmo has kindly helped with this, but as it’s a unday I don’t want to bother him today!
Thank you for getting back to me.
It would be great to have some high-quality images and some words about the cars history, what work you’ve done and anything else you think our readers would be interested know about you and/or the car.
My email address is simon_designs @ hotmail.com
(just added the spaces in case the forum doesn’t like email addresses)I look forward to hearing from you,
SimonThank you to the person that fixed my project thread, the links and images are now working.
”fitted the screen yesterday”
The aluminium insert WAS fitted to the rubber this time, I just meant that it was a tight fit when we first fitted the screen (once the older screen surround had been welded in) and that was without the insert.
I hope that makes more sense.
I am hoping to take the pickup to the Saab International meeting in August – LOTS to do before then!
Well, it has been awhile since I last updated this project!
I should have done the engine bay at the same time as the body, I could not face the 50 years of grime! But it seemed a shame to to just leave it especially if I had to open the hood at a car show!
I will let the pictures do the talking…


There was a LOT of sanding involved, until I was ready to paint a layer of Upol high build 2k primer.
I learnt a lot from this video…I bought a £50 devilbiss spray gun from ebay and spent some time getting the air pressure right – following this video…
The paint was still had a slight ’orange peel’ finish, so I spent some time polishing the paint, I found this video useful too…
Just put loads of layers of paint on – so you don’t rub through to the primer beneath, don’t ask me how I know this!
One thing I wish I’d done before painting, would have been to bolt the panels back on to the car (I took them off to sand them off the car) to check the fit and panel gaps.
Good luck with yours, make sure you mask everything well (including the garage – the paint WILL go everywhere) and use a good mask in a ventilated area. I should have had an air fed mask on as I was using 2k paint, but I had a huge fan extracting the paint fumes out of the building, which helped.
-
FörfattareInlägg